There’s nothing like that first cup of coffee in the morning, but it can be seriously tainted if it’s coming out of a dirty coffee machine.
If your cup of joe is coming from a Keurig, we asked a few experts about everything you need to know to keep it squeaky clean and in tip-top condition. Former Keurig associate product managers Allison McManus and Kamaal Jarrett and James Copeland of Prism Specialties provide easy-to-follow tips on how to clean every part of your machine from the exterior to the water tank.
Clean the brewer’s exterior | Clean the water tank | Clean the drip tray | Clean the pod holder | Clean with vinegar | Descaling | Replace the water filter | How we chose | Meet the experts
How to clean the brewer’s exterior
When: Once a week or as needed.
How: Wipe the outside of the brewer with a damp, lint-free cloth.
How to clean the Keurig water tank (aka cold water reservoir)
When: Every week, if used every day (recommended, not required)
How:
- Remove the reservoir from the brewer.
- Take off the lid and empty the reservoir.
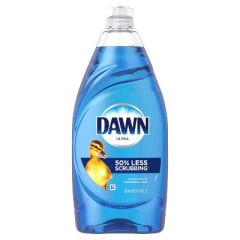
- Wash the inside of the reservoir using warm, soapy water and a soft, clean cloth. Never wipe the inside of the reservoir with a dry cloth; lint or other particles may cling to the sides of the reservoir and eventually end up in your beverage.
- Rinse well and dry only the outside of the reservoir.
- Replace the reservoir and run two hot water cleansing brews before using. For more information on cleansing brews, check your model’s “Use & Care Guide.”
How to clean the drip tray
When: Every week, if used every day (recommended, not required)
How:
- Remove and empty drip tray.
- Wash in warm soapy water.
- Dry with a soft, clean cloth.
How to clean the pod holder
When: Every week, if used every day (recommended, not required)
How:
- Remove the pod holder following the instructions for your specific Keurig model. Be careful of the needle that punctures the pod.
- Rinse using only warm water. Do not dry.
- Replace and run two hot water cleansing brews before using.
How to clean a Keurig with vinegar
Pro tip: Don’t!
While vinegar is quite the household miracle cleaner, the pros don’t suggest using it to clean your Keurig.
How to descale a Keurig
When: Every 3-6 months, or when day-to-day brewing becomes slower.
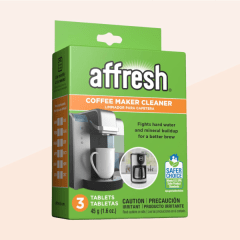
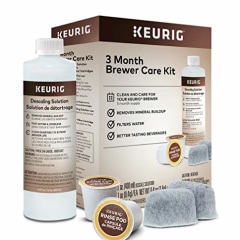
Descaling is the process of removing calcium deposits, magnesium deposits, limestone deposits and other minerals from a coffee maker, Copeland explains. “These mineral deposits are not toxic, but if they are not cleaned routinely from your coffee maker, can reduce its performance and the taste of the coffee,” he says. “This is why it is recommended to use filtered or bottled water.”
If your water has a high mineral content, you may need to perform the descaling process more often, says Copeland. “Some models of the Keurig system will remind you when to descale with the prompt ‘Time to descale the brewer!'”
“This reminder monitors the quantity of liquid passed through the system and then prompts you to descale. If you postpone the descaling process, then the system will remind you again in six weeks,” he says. The reminder will only go away once the system has been successfully descaled.
How: The process varies from model to model, so follow the the instructions for the specific machine you have at home.
How to replace the water filter
When: Every two months or when indicated by the maintenance alert on the brewer. This is necessary even if you use only distilled or spring water.
How: Follow the instructions for your model.
How we chose the best products for cleaning your Keurig
TODAY.com spoke to experts about the best practices for cleaning your Keurig. Based on the guidance they provided, we found affordable, editor-loved and fan-favorite products to help you get the job done.


